- Excellent detail Reproduction of margins
- Impression with Unmatched accuracy
- Superior Wetting Characterstics
- Impression is rigid enough to allow tray support
- The material is flexible enough for easy removal
- Thixotropic Characterstics aid in optimized flow which Facilitates excellent and Accurate Impressions
Avue Gum
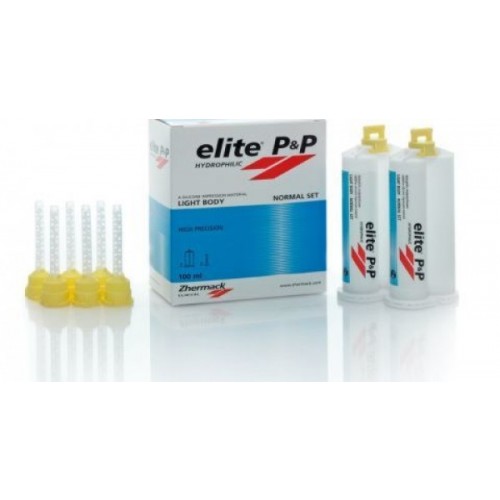
Hydrophilic Vinyl Polysiloxane Impression Material
INDICATIONS:
- Crown & Bridge impressions
- Pickup Impressions
- Full arch impressions in Implantology
- Veneer / Laminate
- Inlay and Onlay impressions
- Functional impression
- Impressions for orthodontic splints and study models
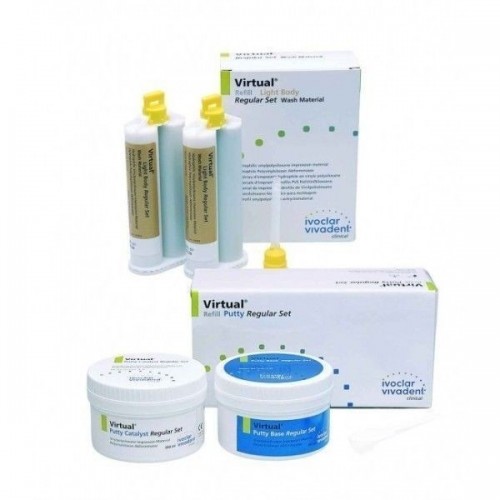
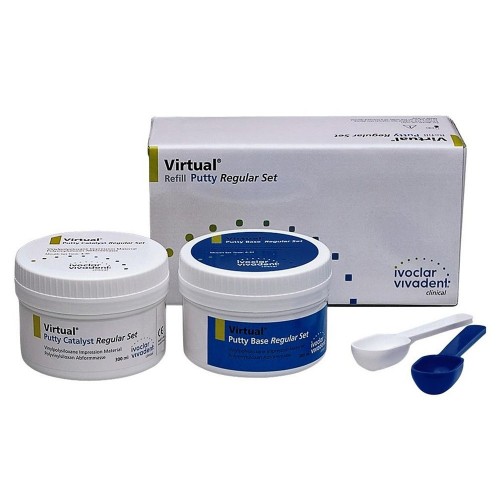
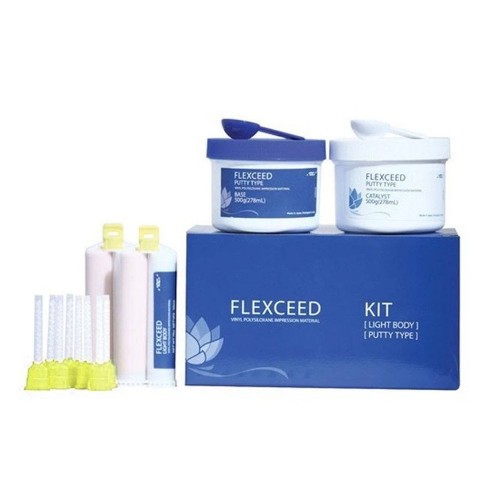
Avue Gum Putty (300ml x 300ml):
- 1 x 300ml Base
- 1 x 300ml Catalyst
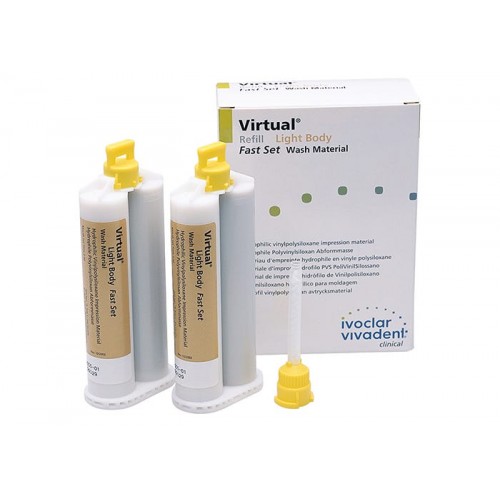
Avue Gum Light Body (2 x 50ml):
- 2 x 50ml Cartridge
DIRECTION OF USE -CATRIDGE USING DISPENSOR
- Slide up the lever present on the back side of the dispenser & simultaneously pullback the plunger.
- Lift up the plastic flap ( Cartridge Lock) present on the front side.
- Now load the cartridge, ensuring that V-shaped notch of the cartridge is facing downwards.
- Push down the plastic flap and lock the cartridge.
- Remove the cartridge cap by rotating its 90 degree anticlockwise and discard it.
- Attach mixing tip and turn it clockwise to lock it.
- Before applying the tip, check that the two cartridge openings are not clogged, and bleed the cartridge until the base and catalyst paste are evenly extruded
- By pulling the trigger material is mixed while using it for the first time squeeze out a pea sized amount of material and discard it.
- To avoid bubbles, it is important that the tip of mixing cannula always remains immersed in the material.
- After application leave the used mixing tip on the cartridge to cap the unused material.
DIRECTION FOR USE-PUTTY JAR
- Take the base material and the catalyst in equal ratio using the specific colored spoon.
- Knead the material with the fingertips for not more than 60 seconds until the color is uniform.
- Reseal the container immediately after use.
NOTE: Only use the Base and Catalyst from the same package! Reseal the container immediately after use! Do not mix up the container lids!
TWO STEP IMPRESSION TECHNIQUE
- Clean and dry the prepared teeth
- Apply tray adhesive to the tray following manufacturers instruction for use
- Take equal measures of base and catalyst using the specific scoop at ratio of 1:1
- Knead the base and catalyst paste for not more than 60 seconds with fingers until the color of mixture is uniform
- Place the mixed material into the tray and put the spacer above it.Alternatively, the initial impression can be taken before the preparation of the teeth
- Insert the tray into the patient's mouth and remove the putty impression after 3-4minutes
- Remove the spacer and make sure impression is clean
Fill the light body material on to the putty impression and over the prepared teeth
|
Note: ln order to ensure that the two impression materials bond securely with each other, a period of not more than 30 min may pass between both the impression
SINGLE STEP IMPRESSION TECHNIQUE
Note: The filling of the tray and syringing should be completed at the same time as the higher temperature in the mouth leads to a quicker setting of the syringed material compared to the tray material.
Removal of the impression Remove the impression parallel to the longitudinal axis of the prepared teeth. CASTING The impression should be cast 30 minutes at the earliest after removal from the mouth. STORAGE AND SHELF LIFE OF THE IMPRESSION
S. Do not use the material after the expiry date, which is displayed on the containers. CLEANING AND DISINFECTION OF THE FINAL IMPRESSION The impression should be rinsed under (cold) running tap water after removal from the mouth. After rinsing, disinfection can be done with a suitable commercial Dental disinfectant solution like 2 %glutaraldehyde. |
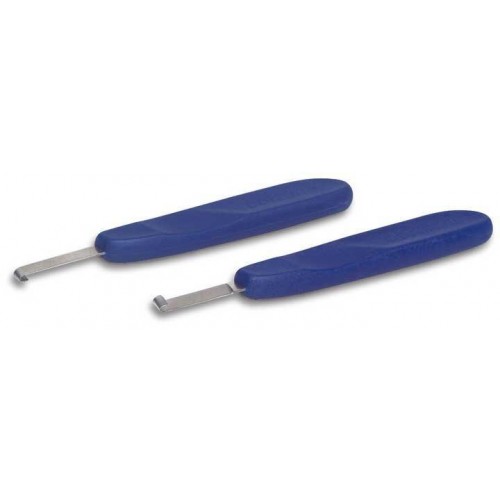
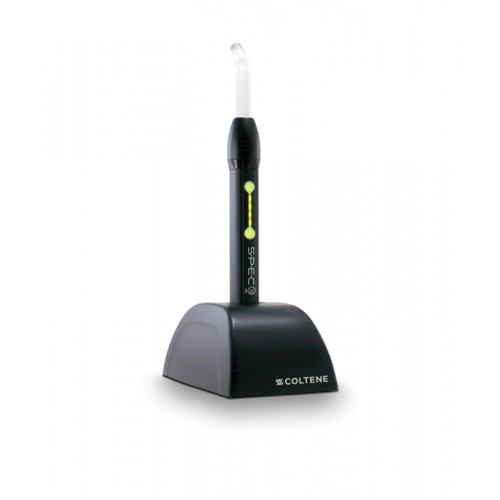
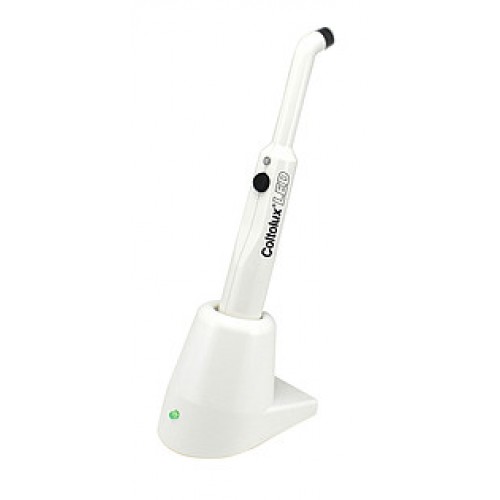
Related Products
Rs.50
Latest Blogs
Coltene, over the years since its establishment, has emerged as one of the leading manufac...
Read MoreGood oral health plays an important role in our lives. It has several life-changing advant...
Read MoreGood oral health and hygiene have plentiful benefits. It not just earns you an attractive...
Read MoreDental braces are dental devices that orthodontists use to reposition and straighten your...
Read MoreDental bonding also known as teeth bonding is a cosmetic procedure done to repair chips, c...
Read MoreWith the growth of the dental industry, it is essential to try and find out which are the...
Read MoreWhen it comes to delivering high-quality dental care, the Coltene Rubber Dam Kit stands ou...
Read MoreIn restorative dentistry, composite materials play a vital role in delivering functional a...
Read MoreAs a trusted supplier, ID Enterprises offers top-quality NeoEndo rotary files designed to...
Read More